A damaged roof can feel like a ticking time bomb. One heavy rainstorm, and suddenly you’re dealing with leaks, water stains, and costly repairs. That’s where tarping comes in. Think of a roof tarp like a temporary raincoat for your house. It keeps water out until permanent repairs can be made.
If you’re wondering how to tarp a roof properly, you’re in the right place. This guide will walk you through everything in simple, practical steps, even if you’ve never done it before.
Why You Might Need to Tarp a Roof
Emergency Situations After Storm Damage
Strong winds, falling branches, hail, or heavy rain can rip shingles off your roof or create holes. When that happens, immediate protection becomes critical. A tarp prevents water from entering your home and causing further structural damage.
Temporary Protection Before Repairs
Sometimes you can’t fix a roof immediately due to weather, contractor availability, or insurance approvals. Tarping buys you time. It’s a temporary solution, but it’s extremely effective when done correctly.
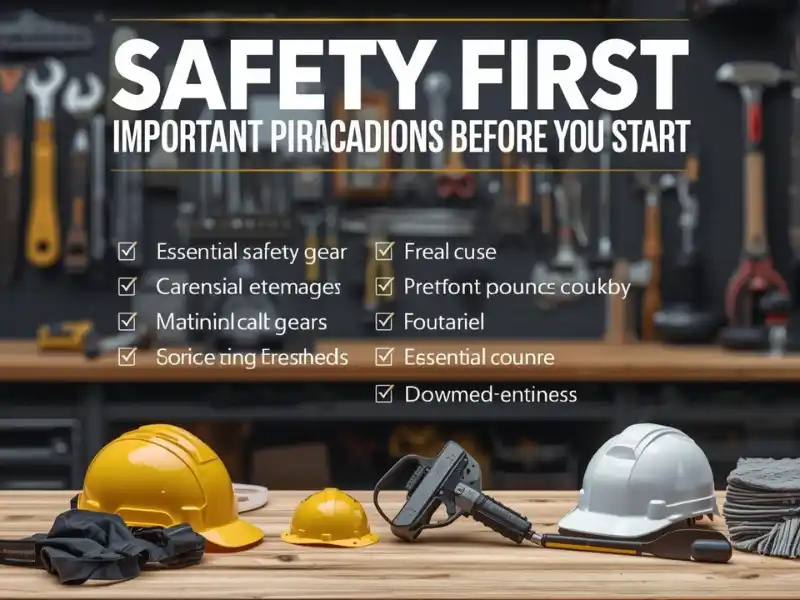
Safety First: Important Precautions Before You Start
Before climbing onto your roof, pause for a moment. Roof work is risky, especially after damage.
Weather Conditions to Consider
Never tarp a roof during rain, high winds, or icy conditions. Wet surfaces are slippery and dangerous. Always wait for dry, calm weather if possible, as safety should always come first when deciding how to tarp a roof properly.
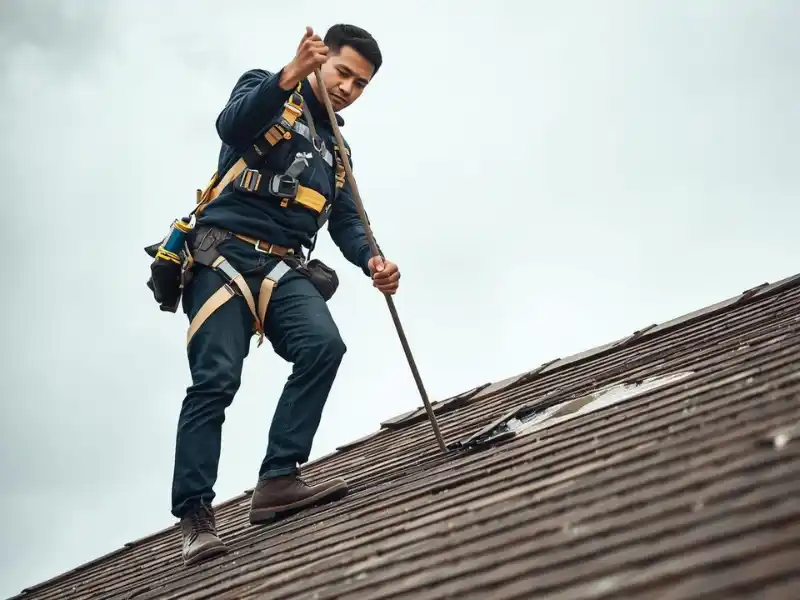
Personal Protective Equipment (PPE)
Wear:
-
Non-slip shoes or boots
-
Work gloves
-
Safety harness (for steep roofs)
-
Protective eyewear
Your safety matters more than speed.
Tools and Materials You Will Need
Having everything ready before starting saves time and frustration.
Choosing the Right Tarp
Look for:
-
Heavy-duty polyethylene tarp
-
Waterproof material
-
UV-resistant coating
-
Size large enough to extend 3–4 feet beyond damage
Bigger is usually better.
Essential Fastening Supplies
You’ll need:
-
2×4 wooden boards
-
Roofing nails or screws
-
Hammer or drill
-
Measuring tape
-
Ladder
-
Utility knife
These items ensure a secure installation.
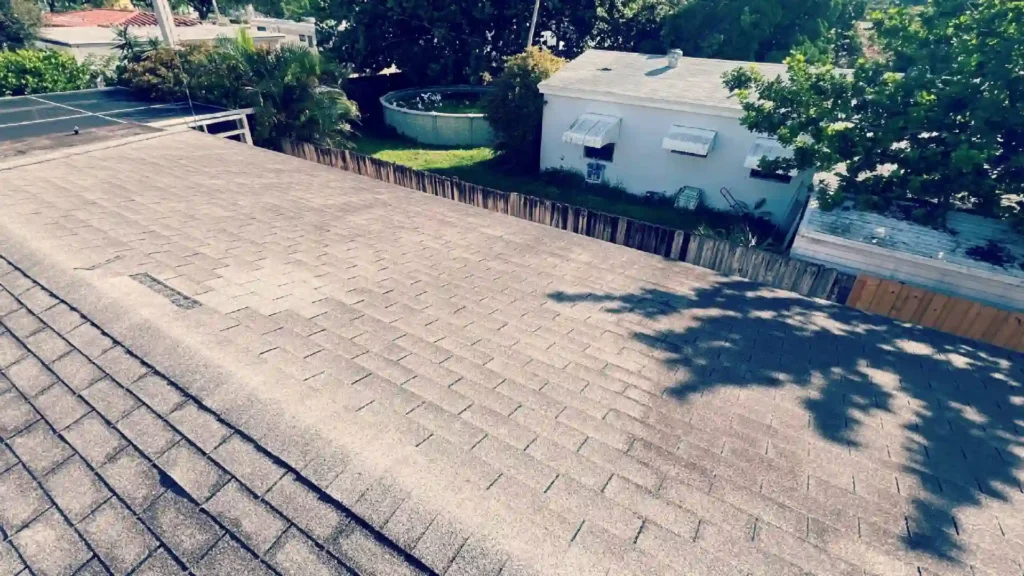
How to Inspect the Roof Damage Properly
Before placing the tarp, you need to understand the problem.
Identifying Leak Entry Points
Leaks don’t always start directly above the visible damage. Water travels. Look for:
-
Missing shingles
-
Holes
-
Cracks
-
Soft spots
Measuring the Damaged Area
Measure the damaged section and add extra coverage on all sides. This overlap prevents water from sneaking underneath the tarp.
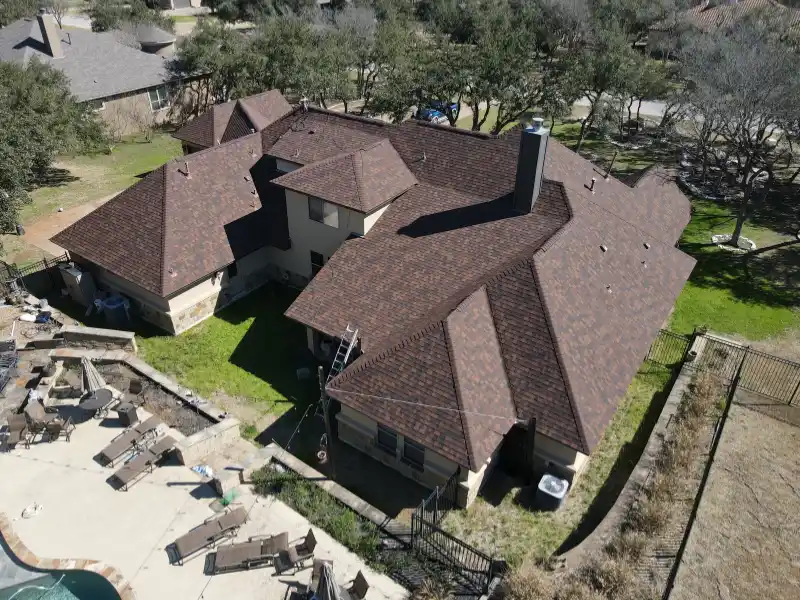
Step-by-Step Guide: How to Tarp a Roof
Now let’s get to the main part.
Position the Tarp Correctly
Place the tarp over the damaged area, making sure it extends past the roof ridge if possible. Covering the ridge reduces the chance of water getting underneath, which is a key step when learning how to tarp a roof effectively and prevent future leaks.
Secure the Top Edge First
Start at the highest point. This prevents water from flowing under the tarp.
Wrap the tarp edge around a 2×4 board and screw it into the roof decking.
Wrap Around Wooden Boards
Roll the tarp edges around the boards like you’re wrapping a burrito. This creates tension and keeps the wind from lifting it, an essential technique to remember when learning how to tarp a roof properly and ensure it stays secure during strong winds.
Step 4: Nail or Screw the Boards in Place
Attach boards along:
-
Top edge
-
Bottom edge
-
Both sides
Make sure everything is tight and secure.
Seal the Bottom and Sides
Pull the tarp tight to remove wrinkles. Wrinkles allow water pooling, which can cause leaks or tearing.
Best Practices for Maximum Protection
Preventing Water Pooling
Water pooling adds weight and stress. Always install the tarp with a slight slope so water runs off naturally.
Ensuring Wind Resistance
Wind is the biggest enemy of roof tarps. Secure all edges firmly using boards—not just nails through the tarp.
Common Mistakes to Avoid When Tarping a Roof
Many DIY attempts fail due to simple mistakes:
-
Using a tarp that’s too small
-
Not securing the ridge line
-
Only nailing corners
-
Leaving loose sections
-
Ignoring safety precautions
Avoid these, and your tarp will last longer.
How Long Can a Roof Tarp Last?
A properly installed tarp can last:
-
30 to 90 days (standard)
-
Up to 6 months (heavy-duty tarp)
However, remember it’s temporary. Permanent repair should be scheduled as soon as possible.
When to Call a Professional Instead
Sometimes DIY isn’t worth the risk.
Call a professional if:
-
The roof is very steep
-
Damage is extensive
-
You feel unsafe
-
Structural damage is suspected
Professionals have the equipment and experience that reduces risk.
Cost of Tarping a Roof
DIY tarping typically costs:
-
$50 to $200 for materials
Professional tarping may cost:
-
$200 to $1,000 depending on size and complexity
Insurance often covers emergency tarping after storm damage.
Maintenance Tips After Installing a Roof Tarp
Check your tarp regularly, especially after storms.
Look for:
-
Loose boards
-
Tears
-
Water pooling
-
Wind damage
Quick fixes extend the tarp’s life.
Signs You Need Immediate Permanent Repairs
A tarp is only a short-term shield.
Watch for:
-
Interior ceiling stains
-
Mold smells
-
Sagging roof areas
-
Continuous leaks
These mean urgent repairs are needed.
Insurance and Roof Tarping: What You Should Know
Many insurance policies require homeowners to prevent further damage after a storm. Installing a tarp shows you took action, which helps your claim.
Always:
-
Take photos before and after
-
Save receipts
-
Document damage
This can speed up claims.
DIY vs Professional Roof Tarping
DIY works well for small damage and accessible roofs.
Professional help is better for:
-
Large areas
-
Multi-story homes
-
Severe storms
-
Complex roof designs
It’s about balancing cost, safety, and effectiveness.
Final Thought
Tarping a roof might seem intimidating at first, but it’s really just about preparation, safety, and proper securing. Think of it as putting a protective bandage on your home until real healing and permanent repairs can happen. If you follow the steps carefully, you can prevent major water damage and save thousands in repairs.
And when in doubt, don’t hesitate to call a professional. Your home and your safety are worth it. If you’re unsure about the process or need expert help fast, feel free to contact us for guidance or emergency roof protection services.
Join Our Community
Join our community on Facebook, and don’t forget to subscribe to us on YouTube for new content each week.
FAQs
1. Can I tarp a roof by myself?
Yes, but only if the roof is safe to access and the damage is small. Having a helper is always recommended.
2. Should the tarp go over the roof ridge?
Yes. Extending the tarp over the ridge provides better water protection and prevents leaks underneath.
3. What type of tarp is best for roofing?
Heavy-duty polyethylene tarps with UV protection and waterproof coating are the best choice.
4. Will insurance reimburse roof tarping costs?
In many cases, yes, especially after storm damage. Always check your policy and keep documentation.
5. Can I use nails directly through the tarp?
It’s better to secure the tarp with wooden boards. Nails alone can tear the material and loosen over time.